
How to Create Content for Online ESL Lessons
Dear Teachers! My name is Kris Jagasia. My colleague, James Heywood and I have been creating content for our online ESL lessons for the past 5 years.
In 2012, we were living in Turkey but were planning to move home. We really liked the students we were teaching and very much wanted to take them home with us. That being impossible, we suggested moving them online, which was greeted with more enthusiasm than we expected. Our students knew us well and enjoyed the lessons and for many it was far more convenient. We then entered into a yearlong transition period where we were still on the ground in Istanbul but were encouraging our students to move their lessons online. The transition worked quite well but we struggled to find good lesson content…
At the time, we would comb the web on sites like Dave’s ESL Café looking for ESL ‘lesson plans’ that could be adapted to the online classroom.

We soon realized that is was easier to build our own content ‘from the ground up’ rather than repurpose these classroom-focused lesson plans for an online environment.
Today I’d like to outline a couple of the things I’ve learned about how to create content for online ESL lessons. This should be especially relevant to anyone who is keen to create content for their own online lessons!
Becoming an Online Teaching Entrepreneur
Where do I start?
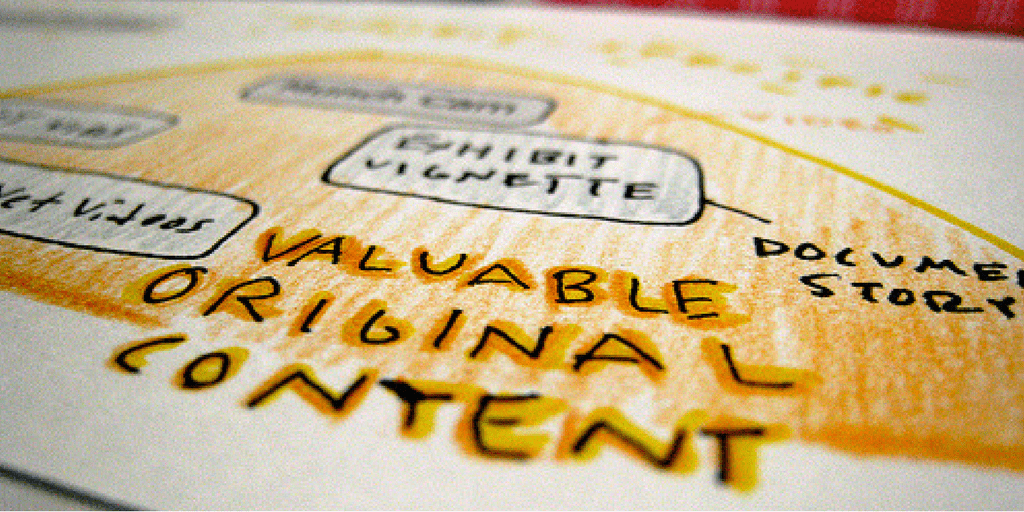
The first step is to pick a software program to build your content. Visuals are important for online lessons (more on that below!). For this reason, we would recommend using a software that easily allows you to match pictures with text, such as a presentation builder like PowerPoint. Using a software designed for long form text (such as Word) makes it more difficult to manipulate the visual layout you are trying to achieve.
Of course, there are now multiple, readily available presentation builder alternatives to PowerPoint such as Prezi and Google Slides. The key point here is to make sure your choice makes your content easy to access for lessons and sharing with your colleagues (more on the importance of sharing below!). Don’t pick a software tool that none of your fellow teachers will be able to open!
If you don’t have a lot of experience building content and you’re keen to get started, take advantage of our free PPT Lesson Plan Template. It’s a step-by-step guide with a variety of slide examples that we developed while building our own 640, digital ESL lesson library. It’s a great starting point to developing your own style!
How is an online classroom different to a traditional classroom?
There are some crucial differences between a bricks-and-mortar and an online classroom that need to be taken into account when building content. Attempting to repurpose tradition ESL lesson content for live online lessons is not always an easy switch.
Here are some key differences between the two learning environments that you should keep in mind when you create content for online ESL lessons:
Field of Vision:
Content in an online classroom (using a videoconference system such as Skype or Zoom) takes up 85%+ of a student’s field of vision. It is much more central to the lesson than a printed material, in a traditional classroom. Your student will be concentrating on the content and it will take over the flow of your lesson.
Content Implication #1:
Online lesson content must be bright and engaging. Make sure you highlight key takeaways. Keep the content adaptive by leaving lots of room for concept checking if your student is responding well to certain slides.
Mobile Screens:
Mobile devices are becoming increasingly popular and your students will be joining your lessons from mobile devices (whether you like it or not!).
Content Implication #2:
Do not try to fit too many words, images or concepts onto any one slide. Keep things uncluttered! It is always safer to lean towards fewer words on a page (and more slides) than the opposite. Having uncluttered slides should also force conversation between you and your students and should help with keeping teacher-talk to a minimum.
Teacher ‘Page’ Control:
In an online classroom you can control what portion of your screen your student sees. If you’re using the screen-sharing feature on your videoconference system to share content, you can choose to share specific applications rather than your entire desktop. This newfound power (over the traditional classroom) should not be taken lightly!
In addition to never having to worry about your students skipping ahead in a course book again, you can also access your Teacher Notes synchronously. And the best part? You can view your Teacher Notes without having to take your eye off of your student or lesson content.
Content Implication #3:
Try to develop a synchronous set of Teacher Notes (that your students don’t see) for each of your slides. These Teacher Notes should contain additional ideas on how to elicit and concept check the target language. Additionally, this will help you keep the slide content uncluttered and your word count down.
Last June, we held a webinar for the italki teacher community covering a number of the points listed above in greater detail. You can access the webinar here.
Can I ‘flip’ the ESL classroom?
Flipping the class has become a lasting theme over the last five years in the traditional ESL classroom. For those who aren’t up to speed, flipping the classroom means that students do basic preparation work before a given lesson. For the live, teacher-led session, students are already prepped and the teacher can focus on concept checking and expansion.
During my work at Off2Class, I continually get queries from teachers about the merits of flipping an online ESL lesson by sending the lesson content to students ahead of time.
My overall recommendation is to proceed with caution! As I’ve outlined above, lesson content plays a much more immersive role in an online classroom compared to the traditional classroom. A student that has reviewed lesson material ahead of time can be a bit challenging to work with during a live lesson. If you are keen to apply the flipped classroom model to your online lessons my recommendation would be to send only a warm-up to the lesson. Try to avoid sending the entire set of lesson materials ahead of time.
Of course, teachers know their students best, and it’s key to develop your own content style for your online lessons and your students.
Finally, sharing is crucial!
Don’t forget to share your creations with your colleagues! It’s the best way to get honest feedback and ideas for improving your own lesson content.
Subscribe to the EFL Magazine Newsletter


Comments